Have you been wondering how to teach scissors cutting skills? You are in the right place! I have 30 years of experience as an occupational therapist and have learned many tips and tricks along the way.
Developmental Order
It is important to be familiar with developmental order when teaching kids how to cut paper.
- Random snipping (child will hold scissors and snip at edges of paper)
- Cutting across paper (generally a thin strip 1-inch or less in width)
- Cutting across wider pieces of paper with no line
- Cutting on a line (starting with a wider, shorter line then progressing to thinner, longer lines)
- Cutting curved lines (starting with a gentle curve like a parenthesis line the progressing to curves like an S)
- Cutting simple shapes (circle, square, triangle)
- Cutting complex shapes (anything other than a basic shape)
Teaching How to Pick Up Scissors
When children are learning to cut, they generally are at the age where they have not developed a strong hand dominance yet (can develop as late as 5 or 6 for some typically developing children). I like to present all materials at midline (in the middle of their body) when working with kids without hand dominance. That way, the child can pick it up with their preferred hand (which may change between activities). Once I have observed them a few times, I tend to see a pattern emerge with which hand they choose and can help them use that hand.
Options to try:
- Hold the scissors by the tips and give them to the child at midline. Hold the scissors so that they will easily put their thumb in the smaller hole.
- Place the scissors on the table at their midline. Place them so that they can easily put their thumb in the smaller hole.
- Teach the child to hold the scissors with their thumb up (thumbnail is parallel to the floor and faces up). I like to tell my kids, “Thumbs up, buttercup!” For some reason, kids really like this sentence. Some kids respond well to having their nail painted, having a sticker on the nail, or having a smiley face on it.
- For some kids, it is helpful to have them try to hold a folder between their elbow and their side. This helps them tuck their elbow in and position the hand for cutting.
Using Adaptive Scissors
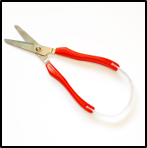
I like to use small loop scissors for beginning learners. These are good for snipping but can also be used for cutting longer lines and shapes. The child only needs to be able to squeeze the scissors shut, then the scissors open when the child relaxes their grip. With these, I prompt for “thumbs up”, otherwise the child just needs to grab the red section and squeeze.
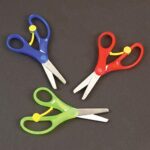
When the child is ready for scissors with thumb and finger holes, I progress to spring-loaded scissors. These are helpful because they have thumb holes like “big kid” scissors, but the child still just needs to squeeze. The spring can be moved to allow the child to practice opening the scissors when they are ready.
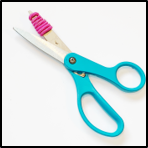
A common issue that I have run into is kids closing the scissors all the way each time, which then requires them to open the scissors then place them on the paper again. This results in jagged cuts and makes it more difficult to learn. For these kids, I wrap a rubber band (or color hair tie) around the end of one tip. This prevents them from closing all the way and prompts the child to open the scissors again.
Modifying Materials
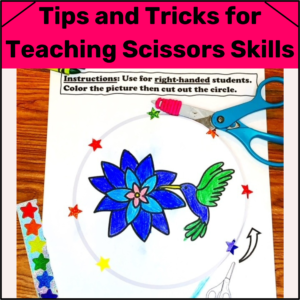
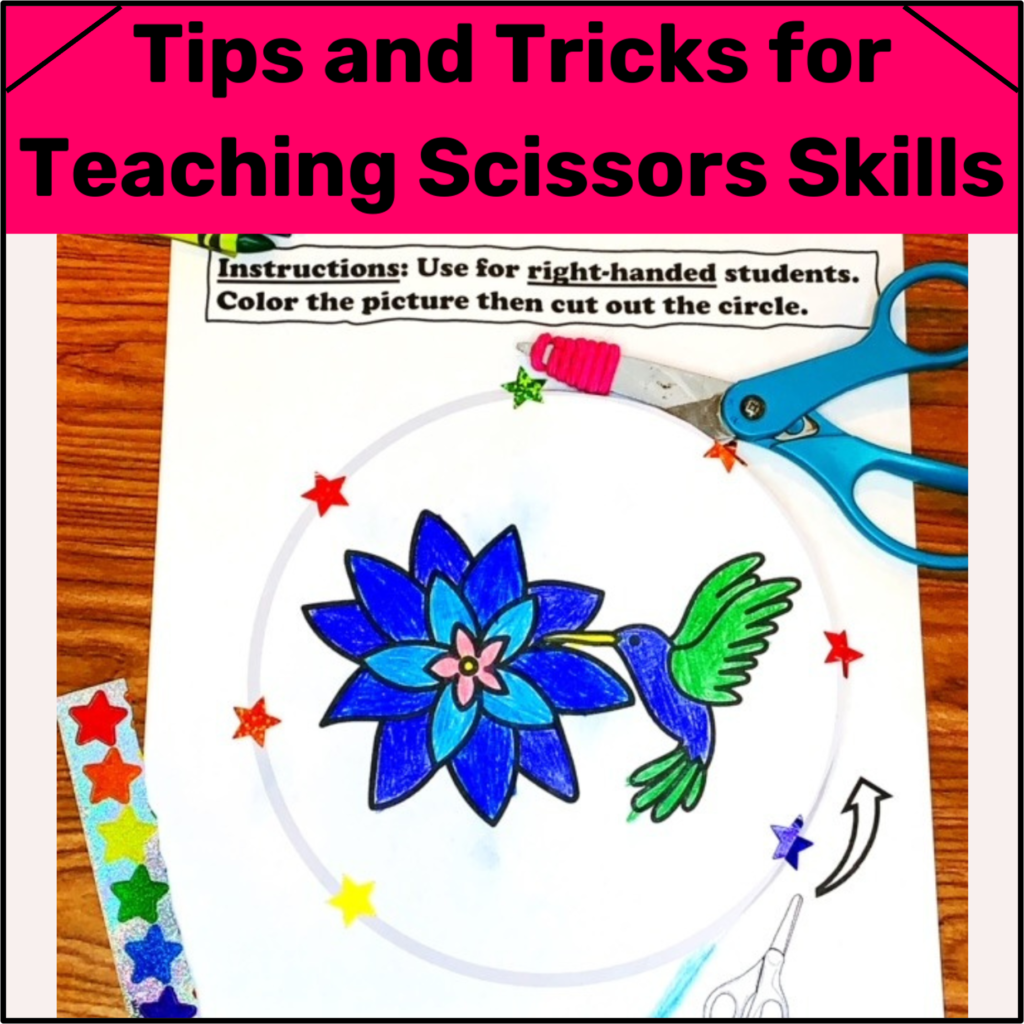
Thick paper (such as cardstock) is easier to hold and cut then thin paper (such as printer paper). For kids who need to practice snipping, I cut construction paper into 1/2-in strips and let them cut them. We then glue them to make art projects like decorating a rainbow. I have printed worksheets (like the one in the cover photo) onto thick printer paper or white cardstock prior to having the kids color and cut.
Other modifications I have used include:
- Adding stickers to show where to start and stop (such as when cutting across paper or a line)
- Placing stickers around the edge of shapes and having the kids cut through the stickers
- Drawing thicker lines to cut
- Using arrows to show which direction to cut (left-handed kids do better when cutting clockwise)
- Using a highlighter (any color) on top of the line to give the child a bigger or more visible target to cut
- Placing Wikki Stix on either side of the line and having the child cut between them
- Placing numbered dots inside the shape to show the child where to place their thumb of helper hand to help turn the paper
- Placing a dot or sticker just beyond the edge of a corner to show the child how far to cut before stopping and turning the paper (to avoid cutting off the corner)

What should kids cut?
The short answer is, anything! As noted above, early learners can cut through narrow strips of paper. Kids can cut blades of grass, pieces of lettuce, pasta noodles (uncooked and cooked), Wikki Stix, different types of paper, and more.
Are you ready to teach scissors cutting skills?
First, grab this free sample packet of cutting worksheets by clicking the image below.

Next, check out this year-round packet of worksheets. This bundle contains 6 different themed packets (370 worksheets!) covering the whole year. It can be used to:
- Assess skills at the beginning of the year
- Assess new students added to a caseload
- Re-assess students for IEP updates
- Progress skills for all students on your caseload
- Track progress year to year
- Maintain student interest during different seasons
- Practice coloring
- And more!
Click the image to view included worksheets.
Save by purchasing the bundle of worksheets instead of the individual themes!
Each packet is arranged following developmental order. Prompts include images of scissors and arrows indicating which way to start cutting (separate pages for left-handed students).
Have fun teaching your kids how to cut paper!